Food Photography for Travelers: Get Better Shots Every Time
You finally tracked down that perfect bowl of ramen in Tokyo, the steam curling up through the lantern light, chopsticks resting just so on the ceramic edge — and the photo you got looks like a blurry mess shot through a foggy window. Sound familiar? Great food memories deserve great photos, and the gap between what your eyes see and what your phone captures doesn’t have to be as wide as it feels. Whether you’re documenting a market feast in Marrakech or a Sunday ragù in Bologna, a few simple techniques will transform your food photography from forgettable snapshots into images people actually stop scrolling for. No professional camera required, no photography degree needed — just a handful of habits that seasoned food travel photographers use every single time they sit down to eat.
Light Is Everything: Chase the Window, Avoid the Flash
If there’s one rule that separates beautiful food photos from disappointing ones, it’s this: natural light is your best friend, and flash is your worst enemy. The harsh, flat burst of a phone flash bleaches colors, creates unflattering shadows, and makes even the most vibrant plate of tagine look like hospital cafeteria food. Natural light, on the other hand, brings out the golden crust on a pastry, the jewel tones in a fruit tart, and the glossy richness of a bowl of miso broth.
When you’re booking a table or choosing where to sit, always prioritize window seats. This isn’t just a food photography tip — it’s a non-negotiable. Soft, diffused light coming from a window at a slight angle creates gentle shadows that add depth and dimension to your dish. Direct harsh sunlight can be a problem too, so if the sun is blazing straight through the glass, use a napkin or ask staff to adjust the blind slightly. The ideal scenario is an overcast day near a large window — that soft, even light is genuinely perfect for food.
At night or in dark restaurants, things get trickier. If you must shoot in low light, look for candles or warm ambient lighting and stabilize your phone against the table. Increase your camera’s exposure manually by tapping the screen and sliding the brightness up, but avoid cranking it so high that your image becomes grainy and washed out. When in doubt, enjoy the meal and save the photography for the lunch you eat tomorrow in better light.
Angles That Actually Work: Overhead vs. 45-Degree
Once you’ve sorted your light, the next decision is where to hold the camera. Fortunately, there are really only two angles worth knowing for most food situations, and once you understand when to use each one, your photos will immediately look more intentional and professional.
The overhead shot — shooting straight down at 90 degrees from above — works beautifully for flat dishes, spreads, and anything with a graphic, colorful layout. Think a mezze platter in Istanbul, a wooden board of charcuterie in Bologna, or the intricate arrangement of a Japanese bento box. The flat lay is visually satisfying and lets you include multiple elements in one frame. To pull it off, stand up from your chair, hold the phone directly above the dish, and make sure your shadow isn’t falling across the food.
The 45-degree angle — holding your phone roughly at the same angle you’d use to read a menu — is better for dishes with height, texture, and layers. A towering burger, a bowl of pho with herbs piled on top, a perfectly pulled espresso with foam art: these all come alive at 45 degrees because you can see the structure of the dish. This is also the angle that most closely mimics how we actually look at food when we’re about to eat it, which gives your photos a natural, appetizing quality.
Experiment with both on every dish. Take an overhead shot first, then try the 45-degree, and you’ll quickly develop an instinct for which works better. The ramen bowl almost always wins at 45 degrees. The colorful grain bowl almost always wins overhead.
Use Portrait Mode and Keep Backgrounds Clean
Modern smartphones have genuinely excellent cameras, and Portrait Mode is one of the most useful tools in your food photography kit. By creating a blurred background (what photographers call “bokeh”), Portrait Mode draws the viewer’s eye directly to the food and gives your image a professional, editorial quality that flat phone shots often lack. On an iPhone, switch to Portrait mode and tap your food to set the focus point. On most Android phones, you’ll find a similar feature labeled Portrait or Aperture mode.
Portrait Mode works especially well at markets, street food stalls, and busy restaurants where the background is cluttered and distracting. A narrow depth of field melts away the chaos behind your plate and makes a simple paper cone of churros in Mexico City look like a magazine cover.
That said, portrait mode can occasionally blur things you want sharp — like a beautiful garnish at the edge of the plate. If it looks off, just shoot in standard mode and keep your background intentionally simple. Move the salt shaker. Push the extra bread plate aside. Fold the paper napkin neatly or remove it entirely. A clean, uncluttered background makes your subject — the food — look instantly more important. Look for single-color tablecloths, wooden surfaces, stone counters, or tiles. Markets and old-town restaurants in cities like Marrakech and Bologna are full of beautiful textures that work perfectly as natural backdrops.
Shoot First, Eat Second — And Ask Permission at Markets
This sounds obvious, but the number of incredible food photos that never happen because someone took a bite first is genuinely heartbreaking. The moment a dish arrives is the moment it looks its absolute best — the steam is fresh, the sauces haven’t pooled, the garnish is upright, and nothing has been disturbed. Give yourself sixty seconds to shoot before you touch anything. Your food will still be delicious thirty seconds later, we promise.
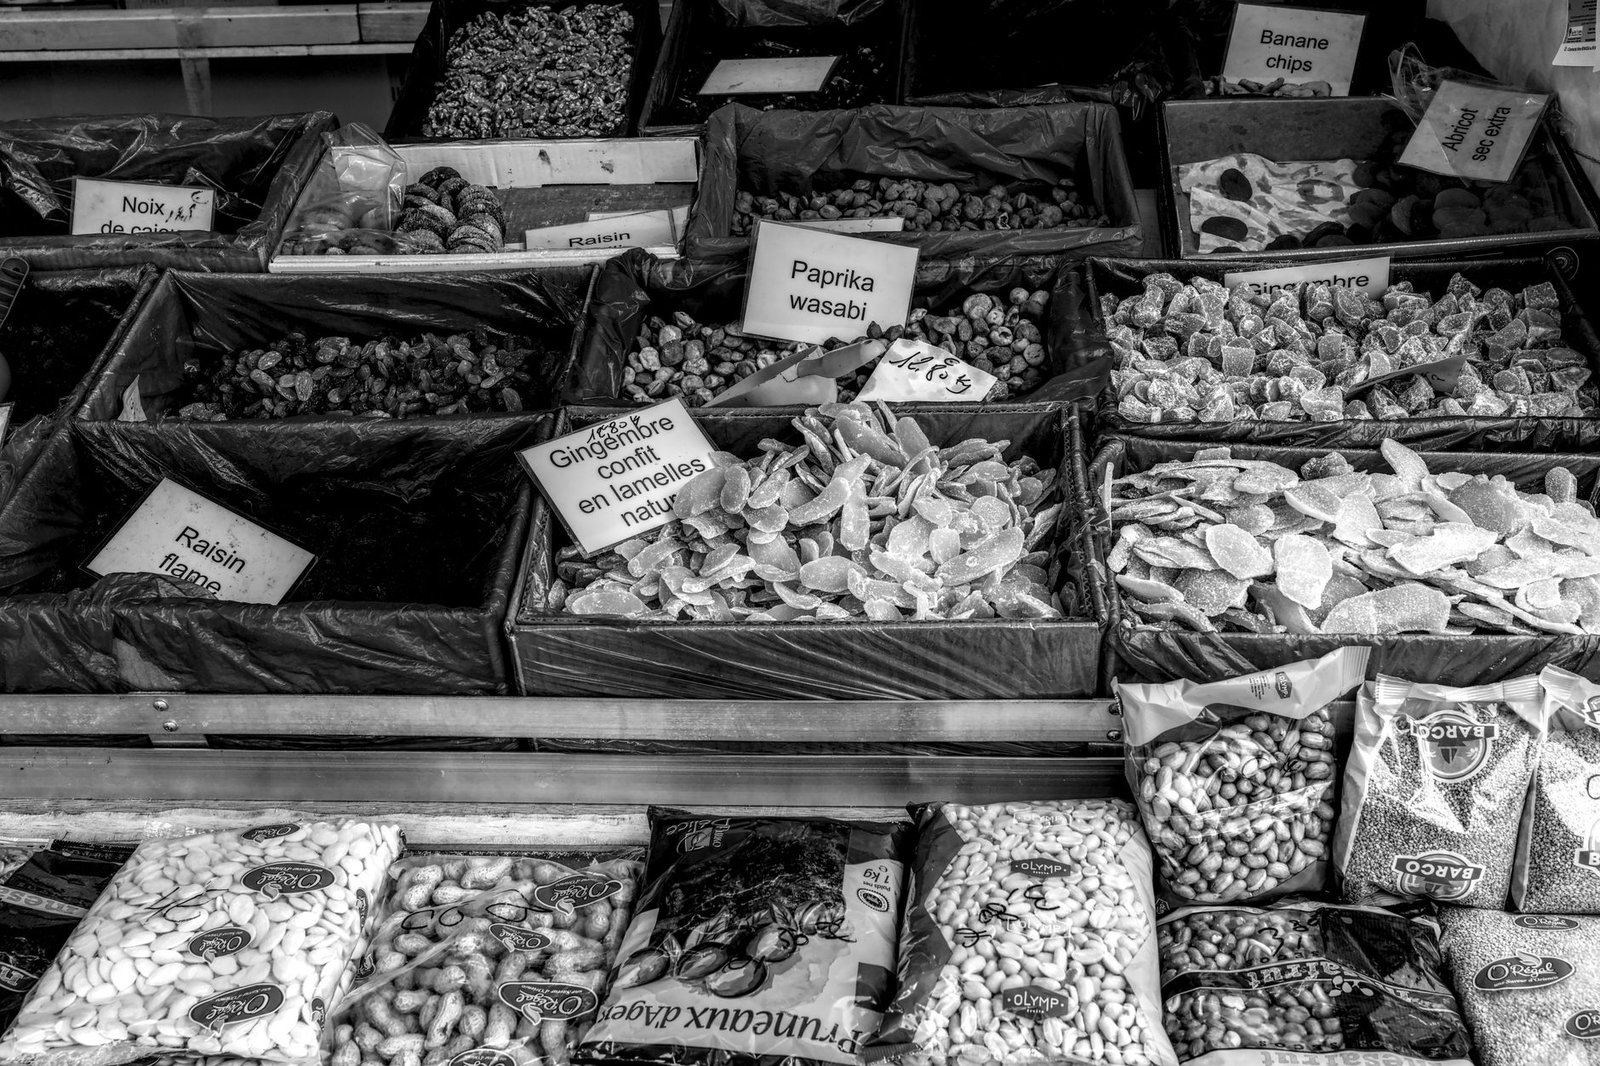
At markets, the etiquette is slightly different. Street vendors and market stall owners are often photographed dozens of times a day, and while many are happy to let you shoot their produce and prepared food, some are not. A simple smile, eye contact, and a gesture toward your phone asking “may I?” goes a long way in any language. In Marrakech’s Jemaa el-Fna square, some vendors do expect a small tip if you photograph them or their food — usually the equivalent of a dollar or two, which is entirely reasonable. In Tokyo’s Tsukiji Outer Market, photographing ingredients and stalls is generally welcomed. At the Mercato di Mezzo in Bologna, vendors are usually friendly and proud of their products. When in doubt, buy something first and then ask — you’ll almost never be turned down.
Edit on Your Phone: Lightroom Mobile Is Free and Genuinely Powerful
Even a well-shot photo benefits from a little editing, and Adobe Lightroom Mobile — available free on both iOS and Android — is the best tool for the job. You don’t need to learn complicated techniques. A few simple adjustments take less than two minutes and make an enormous difference.
- Increase Exposure slightly if the image looks dark or flat
- Boost Contrast by a small amount to add richness and depth
- Raise Highlights carefully to brighten the brightest parts of the dish
- Increase Shadows to bring detail back into darker areas
- Bump up Vibrance (not Saturation) to make colors pop without looking garish
- Add a touch of Sharpening under the Detail panel to crisp up textures
The goal is to make the photo look the way the food actually looked to your eyes — not oversaturated or heavily filtered, just clear, warm, and inviting. Save your most-used settings as a preset in Lightroom and you can apply your entire edit with one tap on every future photo.
The Best Cities in the World for Food Photography
Some cities are simply more photogenic than others when it comes to food, and if you’re planning a trip with your camera in mind, these four destinations deliver extraordinary results.
Tokyo is arguably the world capital of food presentation. From meticulously arranged sushi omakase counters to steaming ramen shops lit by warm red lanterns, every dish feels intentionally composed. A food tour through Shinjuku or Yanaka with a guide from GetYourGuide will take you to spots you’d never find independently, and the variety of shooting environments — from sleek modern restaurants to tiny atmospheric basement bars — is unmatched anywhere on earth.
Marrakech offers vivid colors, dramatic textures, and centuries-old settings. The spice market in the medina, the tiled riads, and the open-air food stalls of Jemaa el-Fna create a visual feast before you even pick up a fork. Evening light in the square turns everything golden, and a guided food walk through the medina gives you access to family kitchens and rooftop restaurants that you’d otherwise walk right past.
Bologna is Italy’s food capital and one of its most underrated photography destinations. The terracotta-colored arcades, marble deli counters piled with mortadella, and ancient tortellini-making workshops are endlessly photogenic. A tagliere of local cheeses and cured meats against a worn wooden table in an old osteria — you barely have to try to get a beautiful shot.
Mexico City combines explosive color, dramatic street food culture, and one of the world’s richest culinary traditions. Mercado de la Merced, the taco stands of Roma Norte, and the elaborate mole dishes of Oaxacan restaurants in Condesa all offer incredible photographic material. Viator offers excellent food market tours that combine history, culture, and eating in ways that make the city’s food story genuinely come alive.
Conclusion
Great food photography while traveling isn’t about having the most expensive gear — it’s about developing a few consistent habits and staying curious about the light, the angle, and the story behind every plate. Find the window seat, shoot before you eat, keep your backgrounds clean, use Portrait Mode when it helps, and spend two minutes in Lightroom before you post. Do those five things and your food travel photos will improve dramatically on your very next trip. If you’re looking for destinations that will make every one of these tips shine, explore our food tour guides to Tokyo, Marrakech, Bologna, and Mexico City right here on FoodTourTrails.com — we’ve curated the best experiences, the most photogenic markets, and the food tours worth booking, so all you have to do is show up hungry and ready to shoot.
Book a Food Experience in Top Destinations
Handpicked experiences — book with free cancellation and instant confirmation.
Explore More Food Tours
Guides for the cities in this article:
- Istanbul Food Tour Guide (Turkey)
- Bologna Food Tour Guide (Italy)
- Mexico City Food Tour Guide (Mexico)
- Marrakech Food Tour Guide (Morocco)
- Tokyo Food Tour Guide (Japan)
Frequently Asked Questions
How do I take good food photos in dark restaurants while traveling?
Raise your ISO to 1600-3200 and shoot with the widest aperture your lens allows, typically f/1.8 or f/2.8. Use a small portable LED light panel or even your travel companion's phone flashlight held at a 45-degree angle to mimic natural side lighting. Avoid using your camera's built-in flash as it creates harsh, flat light that makes food look unappetizing.
Should I ask permission before photographing food at local markets or street stalls?
Yes, always make eye contact and gesture toward your camera before shooting, especially in Southeast Asia, the Middle East, and Latin America where vendors can feel exploited by tourists. A simple smile and a thumbs-up question goes a long way, and buying something before photographing builds genuine goodwill. Respecting this boundary often results in vendors proudly posing their best dishes for you anyway.
What camera settings work best for photographing food in bright outdoor markets?
Shoot in Aperture Priority mode with f/2.8 to f/4 to separate your dish from a busy background while keeping enough of the food in focus. Set your ISO to 100-200 in full sunlight and watch for harsh midday shadows by using a menu or card to diffuse direct overhead light. Overcast days are actually ideal for food photography outdoors because the clouds act as a giant natural softbox.
How do I make food photos look authentic and not overly staged when traveling?
Include contextual details like the vendor's hands, local currency on the table, or the surrounding street scene slightly blurred in the background. Photograph food as it arrives rather than rearranging everything, since genuine imperfection tells a more honest travel story than a perfectly styled shot. Shooting from a slight angle rather than directly overhead often feels more natural and captures the full environment better.
What is the best lens for food photography when trying to keep luggage light while traveling?
A 35mm or 50mm prime lens with a maximum aperture of f/1.8 is the ideal lightweight compromise for travel food photography, offering beautiful background blur without being bulky. The 50mm in particular closely mimics how the human eye naturally sees a plate of food, avoiding the distortion that wide-angle lenses create. If you only pack one lens for a food-focused trip, the 35mm f/1.8 offers slightly more versatility for capturing surrounding context.